Last weekend I said goodbye to my JET 6" jointer watching it go down the driveway in the back of it's new owners truck. Though I considered my woodworking habits to be "blended" I found that I still relied on the power tools more than I liked and with the encouragement of others, I have decided to make turn around the corner to going unplugged.
The table saw is next, it is listed for sale, that leaves me with a Dewalt 13" planer, a Delta 14" band saw, a Delta dust collector, Rikon lathe, and a Ryobi drill press. The planer would be next, I think I will keep the band saw, lathe, and the drill press for work outside the shop.
I have an almost full arsenal of saws, sharp, and ready, a nice selection of hand planes collected over the years, also sharp and ready.
I will be selling some of the planes that are duplicates.
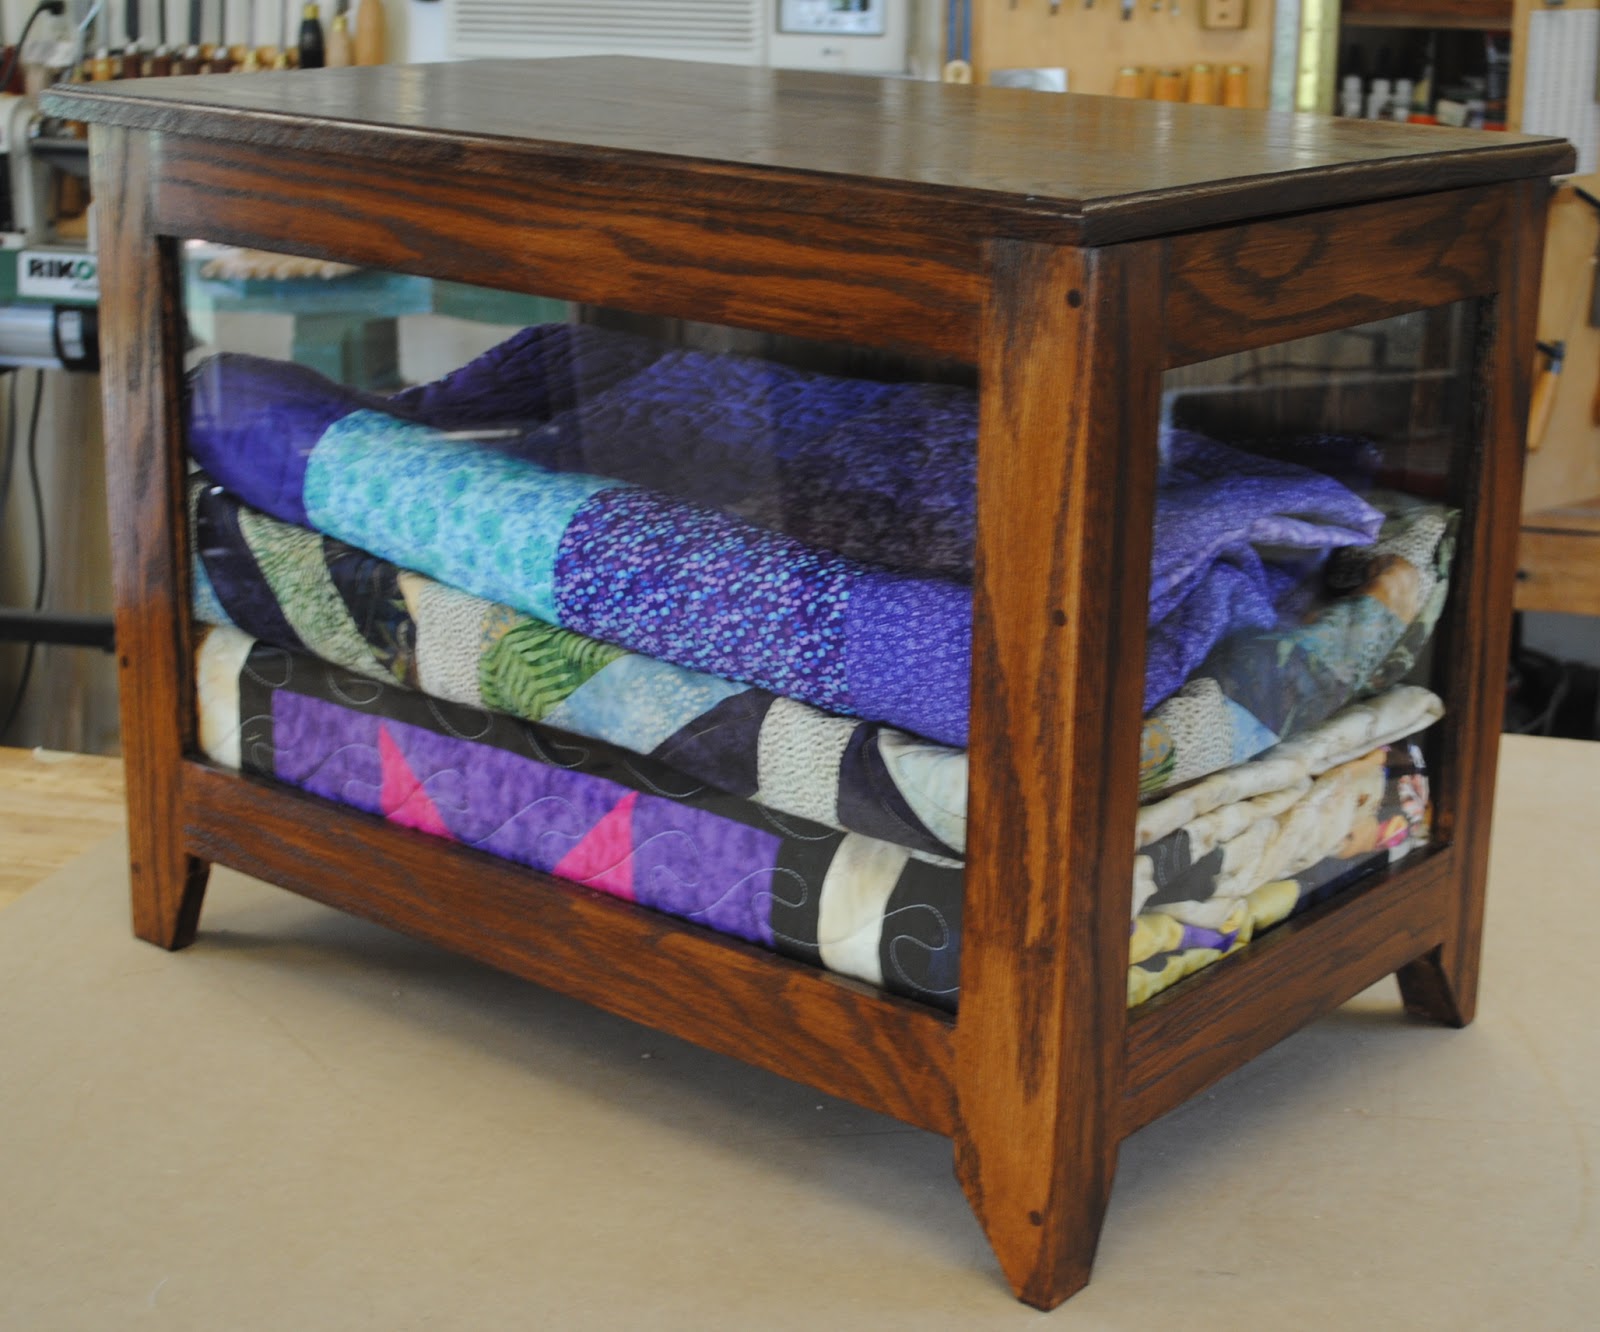
It was strange watching that jointer leave the shop, I used it off an on probably for the last 8 years or so, but it is being replaced with a very nice 30" wooden jointer plane, and since I have been doing a lot of the work lately with hand tools, the conversion doesn't seem as scary as I thought. The tables you see in the post below were made using hand cut mortise and tenons, the tops and shelves fiished with hand planes, and the inner drawer supports cut by hand.
So off I go taking one step closer to the quiet, and safer, side of working wood, perhaps making less dust and mess, feeling more connected to the work, and enjoying it a lot more in this phase of the journey.
Saturday, October 29, 2011
Friday, October 21, 2011
Finished Tables Delivered
The craft table order is now complete and the tables have been delivered to the clients home to her sewing area. The lower table is 60"x30"x30" with one drawer in the center. The other two are 42"x30"x36" and have two drawers each.
![]() |
Three craft tables in sewing room |
Saturday, October 15, 2011
You're Getting to be a Habit with Me....
A couple of recent tool purchases have changed the way I do work, and as the song goes, you're getting to be a habit with me. I first received the Evenfall Studios Shooting Board a month or so ago and other than just trying it out, I really didn't have a project that would require it's use. While working on the project you see below, I bought Capt. America, a beautiful 16" tenon saw made Bad Axe Tool Works at the WIA this year, used it cut tenons of course, but also to x-cut the frame pieces. This is where things changed for me, an epiphany of sorts.
Though I have tried in the past to make my own shooting board, I never could quite get it right, some things are best left to the professionals. I have always made my x-cuts on my table saw thinking the blade was square, it is close, but not close enough. I used my #3 Stanley souped up with a Hock blade, and it squared up the ends of each piece perfectly. Works great, I have also used my low angle block plane on this board.
The project is three tables for a client's sewing room, I have delivered one, working on the second, and one more of these to build. It is now almost second nature to reach for the saw, instead of the table saw, cut the piece, square it up, move on. One step closer to going "cordless". :)
![]() |
Evenfall Studios Deluxe Shooting Board and the Capt. America 16" Tenon Saw from Bad Axe Tool Works |
![]() |
Bottom frame drawer support |
![]() |
Sewing table 42x30x36 - One of two |
Wednesday, August 3, 2011
Adirondack Settee
A client in Cincinnati ordered this settee after considering two separate chairs. Here is a shot of the finished product. I applied French Gray Milk Paint with the outdoor additive and chose General Finishes Environ 450 outdoor poly finish for added protection in the harsh weather up north. I though I would share some of the step by step construction photos to encourage those to jump in and give this type of outdoor furniture a try. I chose pine for this project verses poplar.
Having built one of these about a year ago, I made patterns for all the curved parts in anticipation of building another. This saves a lot of time when repeating a project just by tracing the pattern to the wood. Adhesive is Titebond III with galvanized bolts, nuts and washers.
Carrying the pine tree theme from the back slats to the center support section of the table.
Lots of curves in the back braces. The wedges on the ends get trimmed with a handsaw after assembly.
Back slats attached to check spacing and fit. Second from right needed to be "adjusted" a little. These will be removed to apply the finish. All visible screw holes will be plugged and sanded flat prior to painting.
Back and seat slates pre-drilled and removed for painting. I found that doing it this way saves some time, and a certain amount of frustration, when painting between the slats.
Everything assembled, and ready for paint. The solid front seat rail is made by making a series of angled cuts and finishing with a #4 smoother and a block plane.
This style of furniture never gets old and I keep telling myself I am going to build one for my yard but there just seems to be so many projects and so little time. Thanks for taking a look.
Tuesday, April 26, 2011
Quilt Display Case
This case was commissioned by a customer who wants to display and protect her keepsake quilts.
The case is 29" wide x 19" deep x 21'H and is constructed of Red Oak and finished with General Finishes Shaker Maple and the New General Finishes Water-based Urethane. If you haven't tried this finish yet I can highly recommend it.
Frame and panel construction (glass on front and both sides, oak ply on the back and bottom).
The plugs you see on the front are only decorative.
The beautiful quilts you see in the case for the photos were made by my wife Kathy who is a very accomplished quilter and craftsperson in her own right.
Monday, April 11, 2011
Chair - Repaired
Cut off ends of back bow and tapered |
Holes in top of bow to hold spindles |
Drilled the holes careful to keep the original angle of the back. When almost through, I flipped the bow over and drilled through the top to minimize tear out.
Tapered the spindles to allow the bow to mount properly in the seat.
Everything glued and assembled. The spindles as well as the bow are wedged to be sure it stays together for quite a long time.

Finished chair with the black touched
up with some General Finishes Black Stain.
The chair is better than new now.
Wednesday, January 12, 2011
Shaker Step Stool - Unplugged
Starting off the new year with a project I have been wanting to do for awhile now and I finally got around to it. This is my version of the step stool featured in the Jan/Feb 09 issue of FWW. (I believe this was also shown on Rough Cut Woodworking with Tommy Mac). This is a milestone of sorts for me as I built this entire unit with hand tools, the only power involved were the lights in my shop. It is constructed from Cherry and Maple.
The Parts |
The parts are cut and ready for assembly. All of the dovetails are hand cut of course, the boards were ripped and cross cut with hand saws, the pieces planed smooth using hand planes. One challenge I had was jointing the edges of the longer pieces and keeping those edges square. Not shown in the photo of the tools I used in the Stanley #6 plane I used for that task. I think I will need to add a #7 or #8 to the tool chest for that task in the future.
Subscribe to:
Posts (Atom)