Tuesday, April 26, 2011

Quilt Display Case

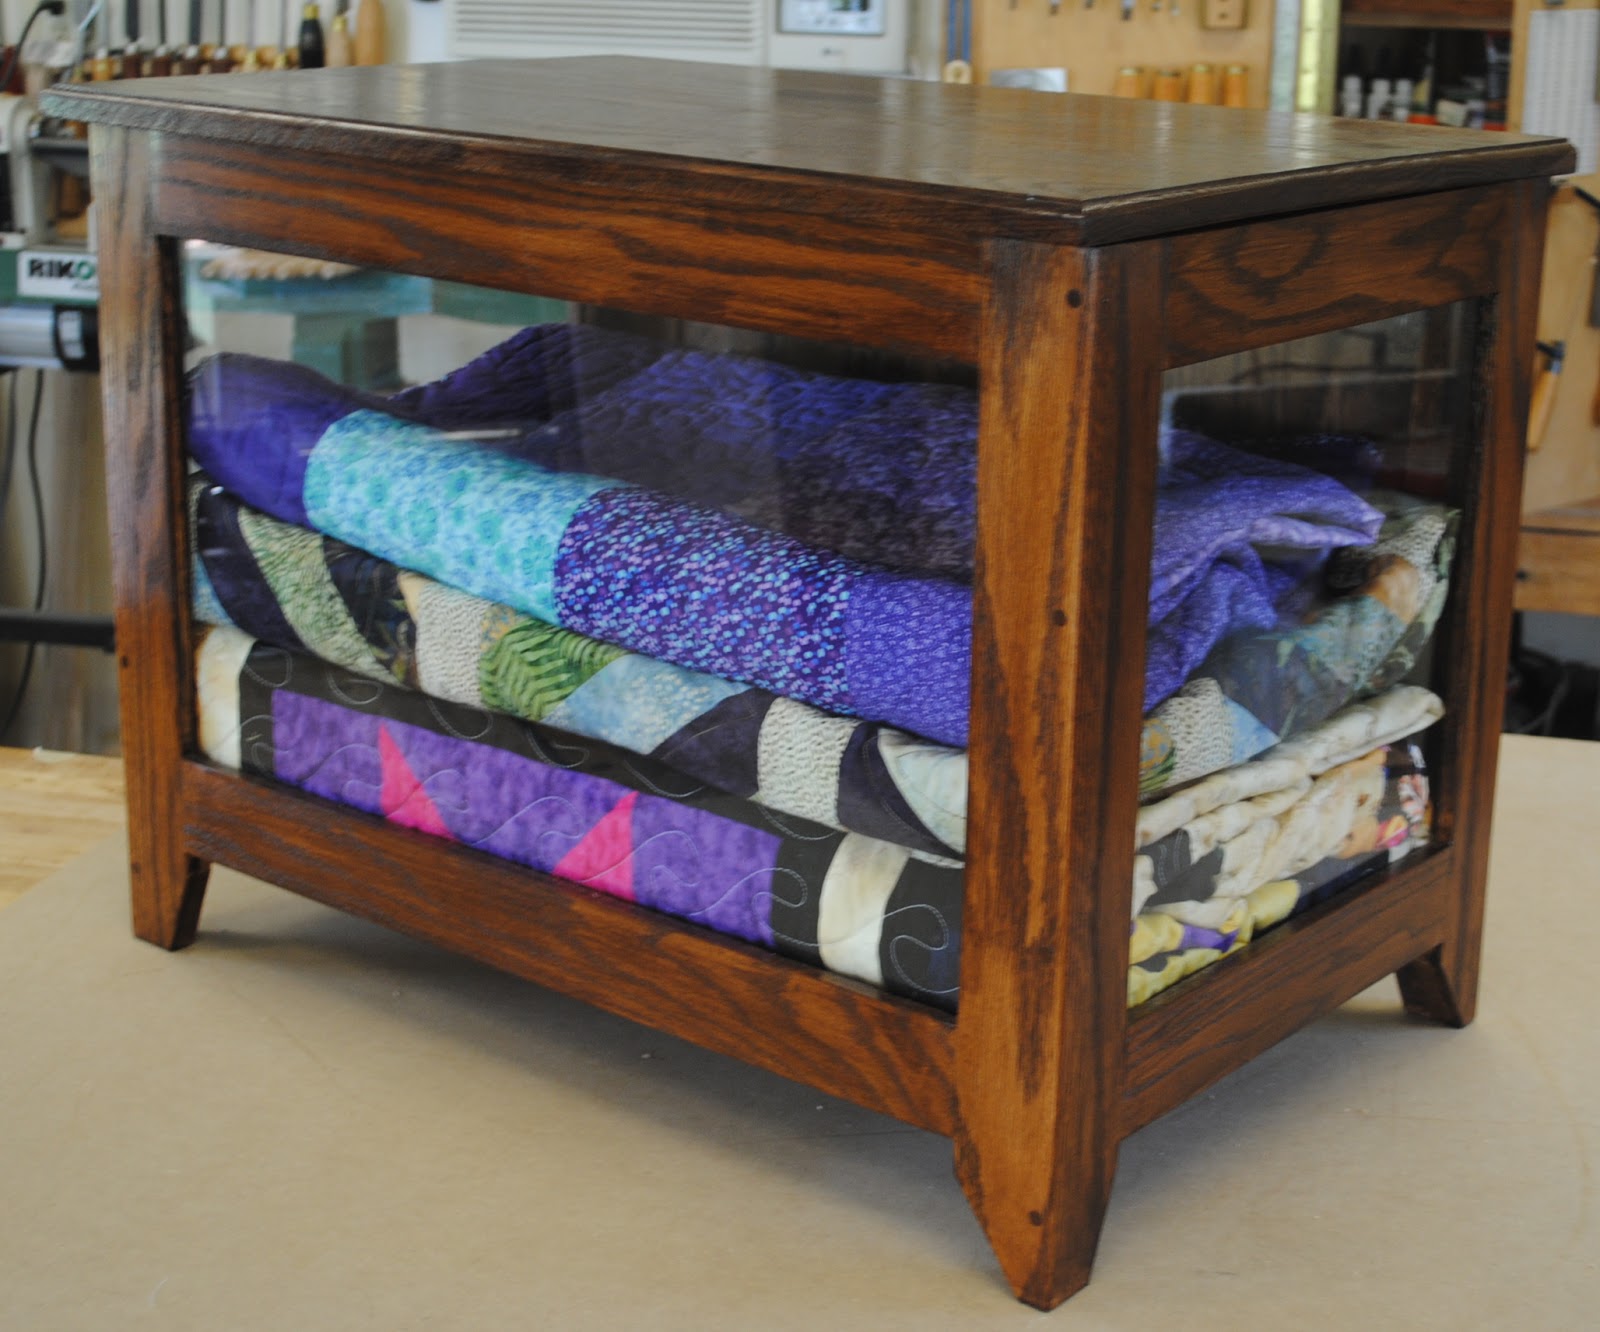
This case was commissioned by a customer who wants to display and protect her keepsake quilts.


The case is 29" wide x 19" deep x 21'H and is constructed of Red Oak and finished with General Finishes Shaker Maple and the New General Finishes Water-based Urethane. If you haven't tried this finish yet I can highly recommend it.
Frame and panel construction (glass on front and both sides, oak ply on the back and bottom). 
The plugs you see on the front are only decorative. 

The beautiful quilts you see in the case for the photos were made by my wife Kathy who is a very accomplished quilter and craftsperson in her own right. 


Monday, April 11, 2011

Chair - Repaired


I was ask to duplicate two table leaves for a client, a former co-worker, and when I went by his house to take a look at the table, I saw one of the chairs from the set in his fire wood pile. He said he had tried to glue it, but it continued to break where the bow goes in the seat. Typical of these types of chairs, most of the critical joints were glued with screws, not through tenons.
Cut off ends of back bow and tapered
Holes in top of bow to hold spindles


I drilled through holes across the top of the bow to accept the ends of the spindles, but also to compensate for the fact that now the bow is shorter and needed to go through the seat.

 Drilled the holes careful to keep the original angle of the back. When almost through, I flipped the bow over and drilled through the top to minimize tear out.
Tapered the spindles to allow the bow to mount properly in the seat. 
Everything glued and assembled. The spindles as well as the bow are wedged to be sure it stays together for quite a long time.


Finished chair with the black touched
up with some General Finishes Black Stain.

The chair is better than new now.

Wednesday, January 12, 2011

Shaker Step Stool - Unplugged

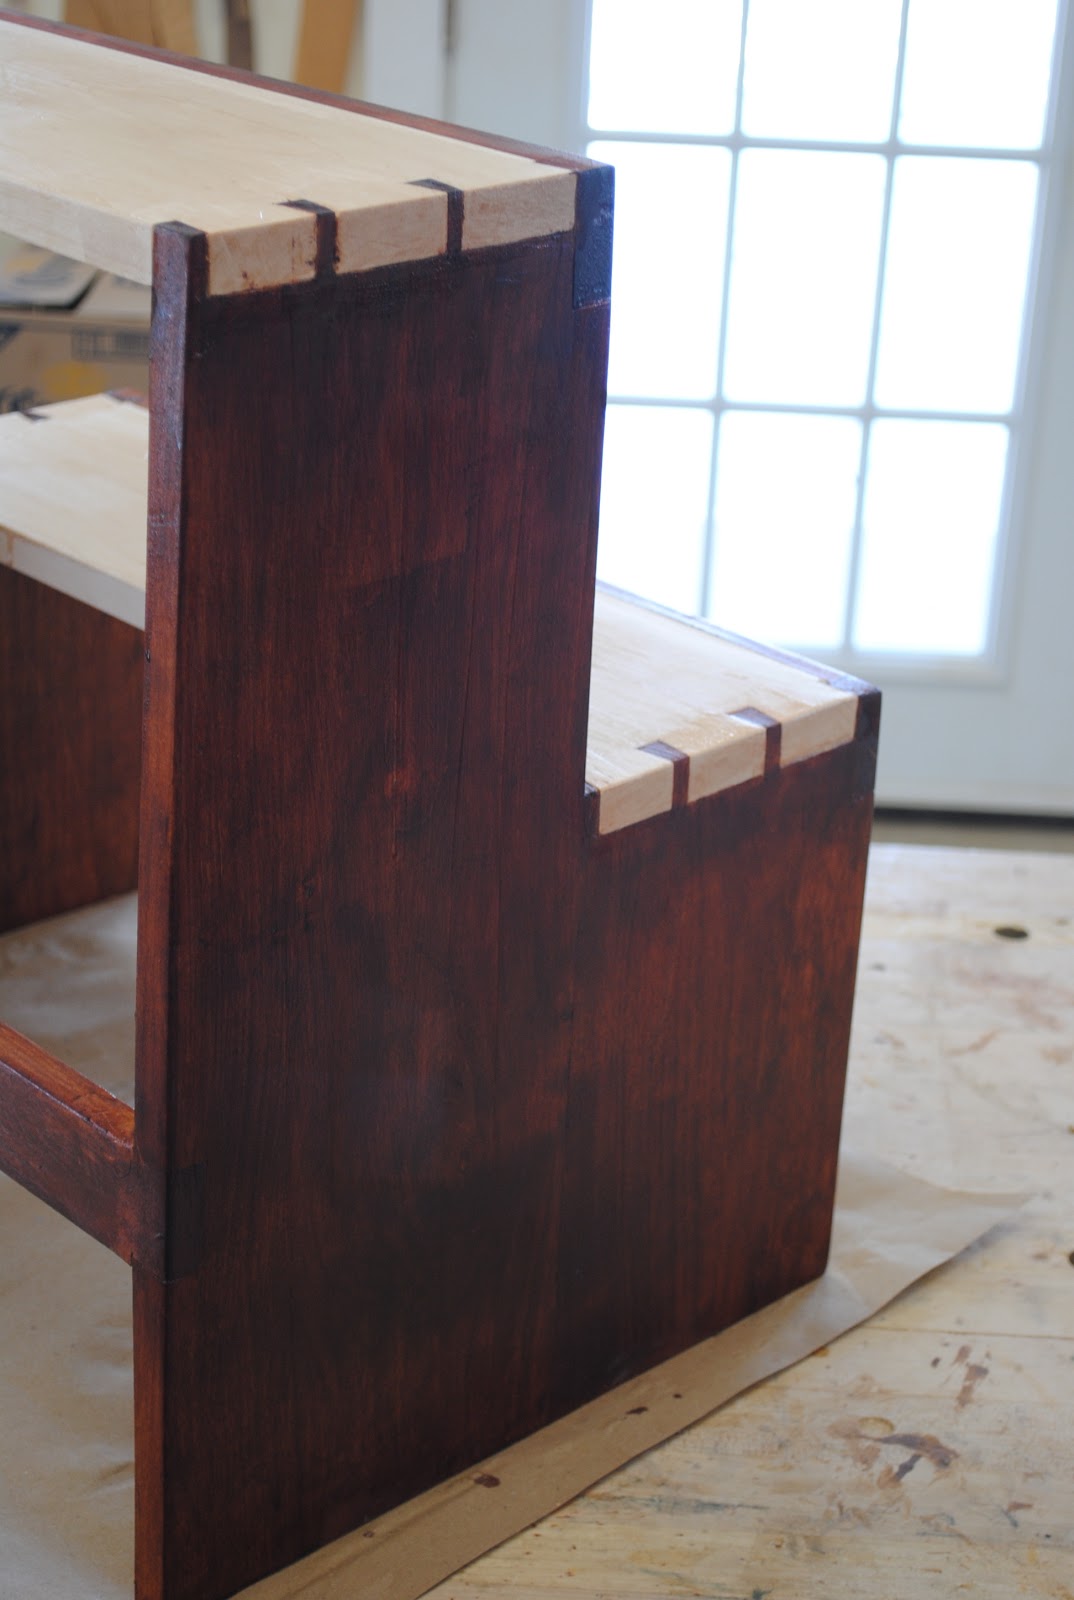
Starting off the new year with a project I have been wanting to do for awhile now and I finally got around to it. This is my version of the step stool featured in the Jan/Feb 09 issue of FWW. (I believe this was also shown on Rough Cut Woodworking with Tommy Mac). This is a milestone of sorts for me as I built this entire unit with hand tools, the only power involved were the lights in my shop. It is constructed from Cherry and Maple.
The Parts
The parts are cut and ready for assembly. All of the dovetails are hand cut of course, the boards were ripped and cross cut with hand saws, the pieces planed smooth using hand planes. One challenge I had was jointing the edges of the longer pieces and keeping those edges square. Not shown in the photo of the tools I used in the Stanley #6 plane I used for that task. I think I will need to add a #7 or #8 to the tool chest for that task in the future.
The Tools
 
The tools I used are shown above with the except of the aforementioned #6 and my saw bench. 
The finish is General Finishes Vintage Cherry Dye stain and that tamed the sap wood that was throughout the cherry I had on hand to build this. I added a top coat of General finishes Arm-R-Coat. Overall dimensions are 20"wide, 14" deep, and 20" high. Slightly smaller that that shown in the article.

I really enjoyed building this project. While this isn't the first time I have cut dovetails, this is the first time I started from scratch with hand tools. While I am happy with most of the joinery, I thought back to the saying  "Better is the enemy of good" (If you been to New Hampshire you know where I learned that) and was satisfied that the next time I cut dovetails there will be an improvement. I also was reminded that sharp tools make the task much easier. Am I ready to sell the table saw yet?, no, but I think I am one step closer.


Sunday, December 5, 2010

Student Desk / Christmas Gift

Full extension drawer slides
This desk was made for our oldest granddaughter for a Christmas gift. The entire desk, with the exception of the side panels, is made of soft maple. Mortise and tenon joinery throughout. Top is 26" x 51".


Desk with drawers closed
The desk is finished with General Finishes Vintage Cherry dye stain to best compliment the colors of the other furniture in her room. I had used a sanding sealer but still had to deal with some blotching in some areas of the desk, but overall I think it came out okay. This desk is very solid and very heavy, I'm sure it will be around for a long time. I used a plan from WOOD and made changes along the way. 

Friday, November 19, 2010

Windsor Chair - Repair

A local lady contacted me to see if I could repair a chair she became attached to over the years. Best I can tell, it was originally built as a rocker with a shaw or comb back and was converted to a chair for reasons I can't determine. She bought it at a collectables dealer. The bottom of the legs had been cut with a dowel installed and another piece added (front legs).  I replaced the two broken back legs, the back stretcher, glued and wedged the other loose joints, and glued the large crack running front to back on the seat. If you look at the seat in the "before" pics, you will see a large burn mark. I tried to sand that mark out and math the finish color. The finish is a mix of General Finishes Salem Maple and Minwax Oak. Photos with captions follow. 

"Can you fix this please"? This is how the chair arrived to my shop. 
There was something attached at one time, looks like the spindles were cut off.
Bottom of chair with what is left of the legs broken off in the seat. Looks like a spoon 

bit was used since the legs holes were not drilled through the seat.


One way to fix a broken leg and a cracked set at the same time I guess


Burn on lower left front of seat, crack down the right side


Finished Chair -turned back legs and stretcher from hard maple, repaired burn mark on seat.

Thursday, October 7, 2010

Adirondack Settee


Adirondack Settee built for one of the guys in the weekday golf group. Made of Poplar, stainless steel screws and waterproof glue used during assembly, and finished in a good quality exterior latex.  I enjoyed making this and he and his wife are enjoying it now that it has found a home on their deck.

Wednesday, September 1, 2010

Finished Sack Back Windsor

This is the Sack Back Windsor chair I made during my week long class at the Windsor Institute in late July. You can read about my experience in a previous blog posting. I chose the traditional milk paint finish and the color is a deep Windsor Green. Once the paint was dry, I finished it with danish oil to give it a nice sheen.


chair sanded and ready for the milk paint
Another view